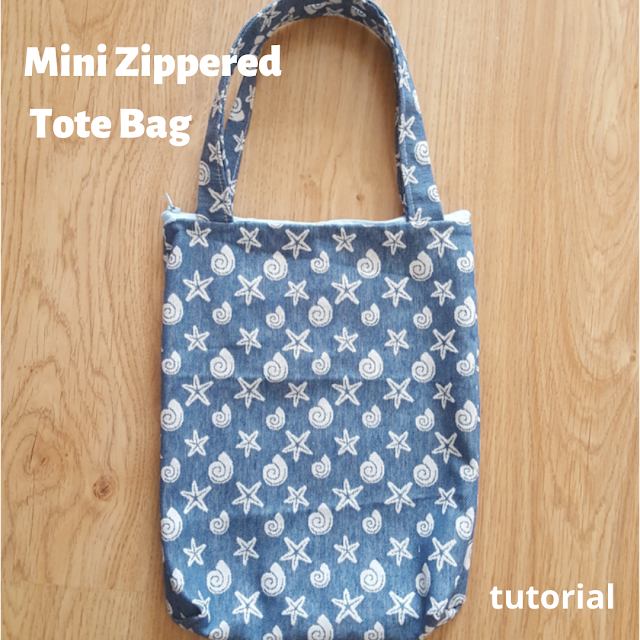
Hello, and welcome. today I'm sharing a tutorial for a zippered tote bag.
The bag in the photos was made as a gift for my mother's birthday at the end of this week, and it's smaller than a tote bag would usually be, so I won't be sharing measurements, just instructions.
For a more regular size you can use my 20-minutes tote bag tutorial.
The bag I'm sharing today is unlined because I kind of like the reverse pattern of this fabric, so to avoid ugly seams showing inside I used french seam - if you need a tutorial, check my unlined tote bags with pretty seams.
What you need:
- Two rectangles of fabric (or one large folded rectangle, like mine, to avoid the bottom seam) for the bode of the bag
- Two strips of fabric for the handles - I like to cut mine 8 cm wide (folded bias tape-style and sewn they make a nice width for handles). Cut these strips as long as you want your handles to be (including seam allowance on both ends)
- bias tape - this is optional, but I'll show you below what I used it for
- a zipper large enough for the top of the bag you want to sew
Instructions:
First make the handles.
Then place the one of the handles over one side of the zipper as shown below:
Pin handles in place and put the fabric on top, pinning it as well (fabric over zipper, right sides together):
This is how it will look from the right side of the fabric.
Sew both sides of the fabric to the zipper this way, with the handles in between.
Now, given that your bag is unlined, you will have an ugly zipper seam on the inside, and that's what I used the bias tape for: to cover the zipper seams. This will make the bag prettier (from the inside, because nothing shows on he outside) and will avoid any fraying bits of fabric to get stuck in the zipper.
If your fabric doesn't fray too much or if you don't mind the inside zipper seams, then skip the bias tape and move on. You can also decide beforehand you prefer to add lining. In this case, add the lining in the same way you would with a lined zipper purse (the only difference is that in this case you have the handles added to the zipper seams).
Once this is done, sew the side seams (and the bottom seam too, if you're using two separate pieces of fabric). Again, french seams are optional and only if you don't want your seams to show on the inside (or your fabric frays too much, like mine).
Your bag is ready to be used! The only thing I did more was to sew two small triangles off the bottom of the bag (on the inside, of course) to create a bit of a flat bottom - but this is also optional.


Oh, how cute is that? Thanks so much for linking up with me at my #UnlimitedMonthlyLinkParty 11, open April 1 to 26. All entries shared on social media if share buttons installed. I’d like to invite you to check out my other current link parties too!
ReplyDeleteGot me dreaming of the beach! Can't wait to go.
ReplyDeleteAlexandra
EyeLoveKnots.com
This would be a fun way to keep all my ultra-fun asthma and diabetes accessories together. It's very cute and handy.
ReplyDelete