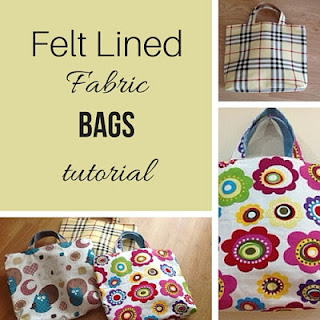
Hello, and welcome. If you've been visiting a while you already know I love to sew bags. And I especially love to use them as gift bags. If you think it through,wrapping paper is just a waste of resources. Even if you try to re-use it as much as possible, there will always come a time when it ends up in the trash. And with the global effort to reduce plastic bags, "wrapping" gifts in a fabric bag is a kind of 2-in-1 gift, because the recipient can re-use the bag for a long time to come.
Lined fabric bags are usually my first choice. They are fairly easy to make - see my 20-minutes lined tote bag tutorial - and I love to go through my fabric stash and find just the perfect pair of fabric and lining for a bag. But sometimes, I just need a gift bag on the go, and I don't want to bother with lining - but I also don't want ugly seams to show up on the inside of the bag (yes, I know it's the inside and no none is really going to look in there to check the seams, but I'm picky that way. Hence, these unlined-tote-bags-with-pretty-seams tutorial.
Start with the fabric for your bag - cut it to the approximate size you want the bag to be. I folded my fabric to avoid having a bottom seam, but if this is not possible (either because you don't have enough fabric to cut a single piece or because your fabric has a pattern and folding it would mean having one side upside down), then the bottom seam is what you sew first.
Don't forget you need two additional strips of fabric for the handles (unless you want to use ribbon instead). I usually cut them with a width of 5 to 6 centimeters, but length will very depending on the size of the bag you are making and on how big you want the handles to be.
Place the fabric with the wrong sides together and sew down the sides.
Then turn it wrong sides out, and sew the seams again. tucking the first seam in between the new one:
This is how the seams will look, inside...
... and out:
Now you just need to sew the handles. To make the handles I found that the easiest method is to fold them bias tape like and secure the edges with a single seam, but you can use whichever method you prefer.
To attach the handles to the bag, fold the top of the bag twice over, and pin the handles in place (with the raw edges tucked in the fold, so that they stay hidden.
Then sew all around the top of the bag. I like to make two seams, one close to the lower edge of the fold, and another close to the top of the bag. As an option, you can add two pieces of ribbon in the center (do this before sewing around the very top of the bag), to be able to close the bag with a knot or a bow.
and your bag is ready to be used!
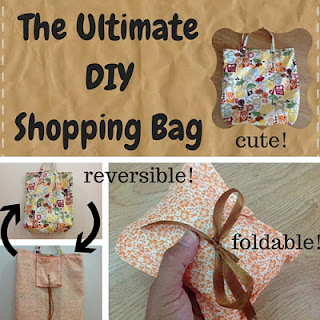
Whether you are making it for yourself (they are great re-usable shopping bags) or to give as a gift, you have managed to sew a simple tote with a pretty finishing - and you didn't even have to line it!
As you can see below, I used the same fabric to make two different sized bags, to wrap gifts for a baby girl. This week I also bought some Christmas themed fabric and now I'm going to repeat the process to create re-usable Christmas gift bags in advance.
While you're visiting, you can also have a look at some of the other bag tutorials I've posted in the past:
Happy Monday!


No comments:
Post a Comment