Keeping it Real: pillow
Showing posts with label pillow. Show all posts

Tuesday, February 4, 2025

Mini crochet pillow

Sometimes destashing means not only using up existing craft supplies but also completing projects that were left half finished (and have been in that stage for a while).


mini crochet pillow


Such was the case with this little crochet pillow. 

Tuesday, October 24, 2023

The Snugly Stripes Pillow: free crochet pattern

Hello, and welcome. Today I'm sharing here a very easy crochet pattern to create a large, snugly pillow, perfect for the cold season ahead. 


The Snugly Stripes Pillow: free crochet pattern


It's a very easy pattern, great for beginners. 

Monday, October 9, 2023

How to turn a cross stitch kit into a pillow

Hello, and welcome! Today I'm going to show you how I turned a cross stitch kit into a pretty pillow (with envelope closure). 


How to turn a cross stitch kit into a pillow


I had this cross stitch kit in my crafts closet for a long, long time. At some point in the past I started it but then it was left abandoned until this past summer, when I finally took it out and decided to finish it once and for all.

Monday, February 15, 2021

DIY Felt Flower Spring Pincushion

This past weekend we finally had a break from the rain and the fog and we started to see the first signs that spring is on the way - so I had to come up with a quick spring project.


DIY Felt Flower Spring Pincushion


I decided a new pincushion was just the perfect idea, especially since it should (hopefully) contribute to a better organisation of my sewing table...

Thursday, October 8, 2020

10-minutes fall mini-pillow DIY

Hello and welcome! The week is almost over but today I'm sharing something I actually made last weekend: a fall mini pillow. 

I rarely change my decor according to the seasons (except for Christmas). Time is limited and it seems that whenever I manage to finish something, the corresponding season is almost over anyway...but this pillow actually came to be as a request from my son - and those I cannot refuse!


10-minutes fall mini-pillow DIY


My son still has a host of stuffed animals in his room and decided he wanted them to have some fall decor of their own. And what better than a soft and fluffy pillow?

Fabric and size were chosen by him, I just did the cutting and sewing. 

Friday, June 22, 2018

My Sailboat Pillow Pattern is now on Etsy!

I'm so happy to finally have a pattern for sale on Esty!


http://redirect.viglink.com/?format=go&jsonp=vglnk_152965971873013&key=fc09da8d2ec4b1af80281370066f19b1&libId=jiprjwgw01012xfw000DA70f8wijhcdpq&loc=http%3A%2F%2Fkeepingitrreal.blogspot.com%2F2015%2F06%2Fsailboat-pillow-tutorial-pattern.html&v=1&out=https%3A%2F%2Fwww.craftsy.com%2Fsewing%2Fpatterns%2Fsailboat-pillow%2F608934&title=Sailboat%20pillow%20-%20tutorial%20%26%20pattern%20%7CKeeping%20it%20Real&txt=https%3A%2F%2Fwww.craftsy.com%2Fsewing%2Fpatterns%2Fsailboat-pillow%2F608934


While I love sharing free patterns with all of you, realistically speaking (Keeping it Real here, remember?) I just don't have time to do it all.


So, while I will still be sharing as many free patters as I can here on the blog, an updated and improved version of my sailboat pillow pattern is now available on Craftsy, complete with the materials list and instructions, for a symbolic price.


The original post on the blog (you can find it here) is still up and running and still includes the detailed photo tutorial, but the pattern is now accessible only here

Originally I made these two sailboats for each of my kids, but they make such a cute summer decor that I'm thinking about making a few more soon!


Enjoy,


keeping it real, craft blog


Tuesday, May 29, 2018

Pillowcases - quick & easy

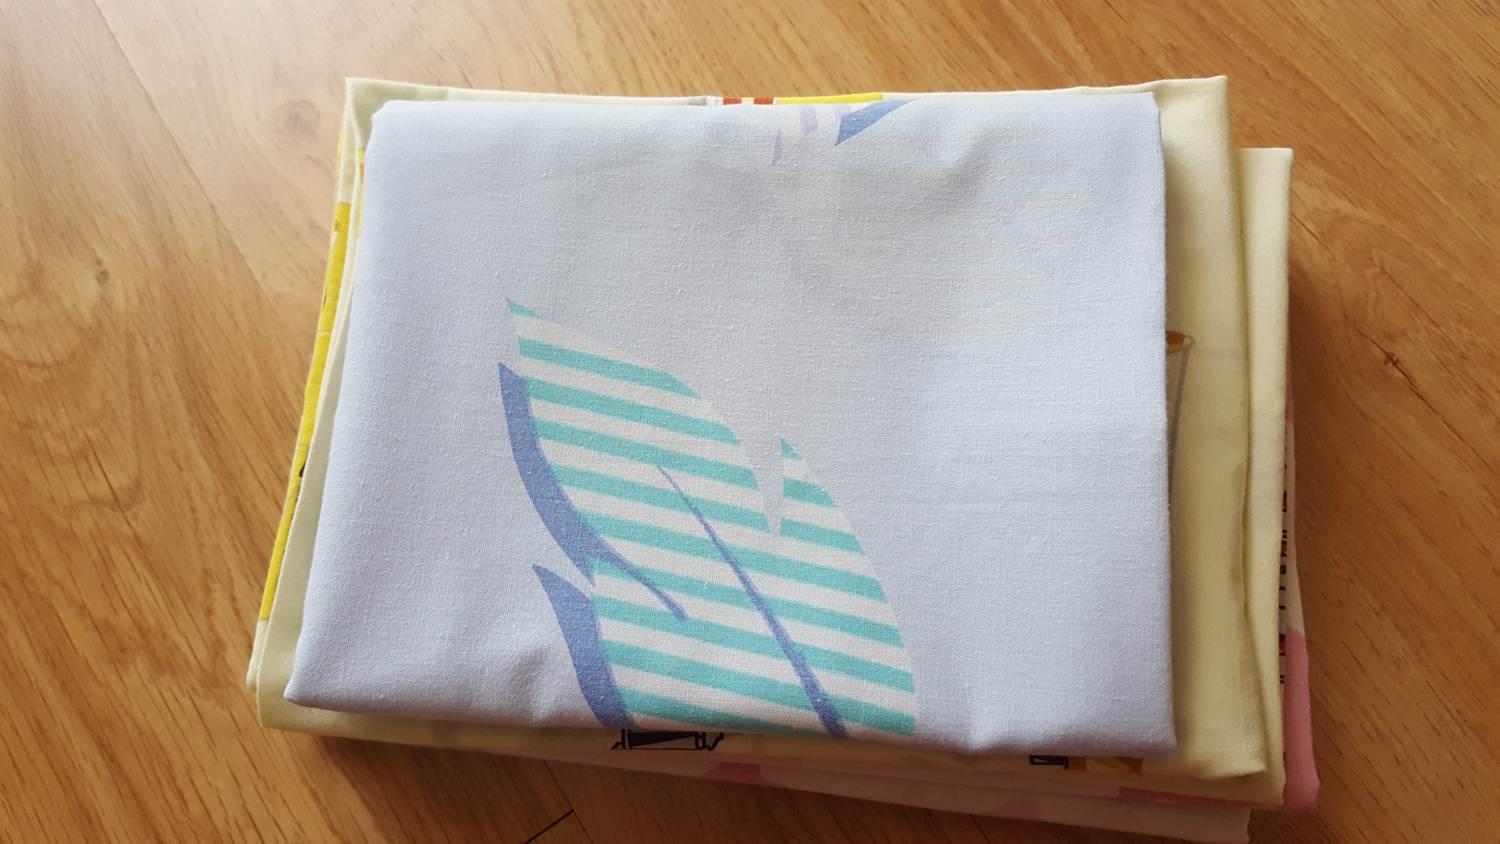
As part of my 2018 destashing goal, I've been (slowly) going through my crafts closet, finishing (or getting rid) of long lost projects. This was how I came across a bunch of old crib sheets that I saved years ago, not necessarily for a trip down memory lane, but more because the fabrics were cute and I thought I could re-use them. 

Well, it's been a while but I finally managed to use those old sheets: I made pillow cases.

Pillowcases - quick & easy

I was working on a timeline, trying to get the cutting and sewing done early on Saturday morning to avoid leaving it unfinished again, so I didn't take enough photos for a tutorial, but I basically followed the same method as my 10-minute pillow cover tutorial.

Pillowcases - quick & easy

And there it is: a nice pile of "new" pillow cases that my kids can use.

Pillowcases - quick & easy

All in all, I made five pillowcases. In theory, you can get two pillowcases out of each crib sheet, but the original blue sheet was partially damaged so I I could only get enough good fabric for one pillow case.

Pillowcases - quick & easy

This is really a great idea to use (or re-use) fabrics you have in your stash, and those pillowcases are so quick and easy to sew that you can make a whole bunch in almost no time at all. 


See below my other destashing projects so far:

Destashing #1: Scrappy crochet blanket
Destashing #2: DIY Play Food: cloth napkins & napkin rings
Destashing #3: DIY Doll Diaper - tutorial and pattern
Destashing #4: Zippered Pouches
Destashing #5: Felt envelope clutches
Destashing #6: DIY Felt Book Covers
Destashing #7: Upcycled Fabric Covered Tin Can 
Destashing #8: Felt penguin key chain 
Destashing #9: DIY Tulle Gift Bags 
Destashing #10: DIY Fabric Headbands  
Destashing #11: Two Toned Felt Envelope Bags 

Enjoy, and happy Tuesday!

keeping it real, craft blog


Tuesday, April 19, 2016

How to change old pillow backings - the easy way!

Hello everyone! Today I want to share with you a quick and easy way to change pillow backings. Because sometimes you have a wonderful old pillow that you love and want to keep, but that needs a little care and attention, but you don't have a lot of time to work on it.
 
How to change old pillow backings - the easy way!

When we got married, my husband and I got a rug and three matching pillows for our living room, in this pattern:

How to change old pillow backings - the easy way!

 
A little over twelve years later, the rug and the front of the pillows are still in great condition (though I have to wash them regularly because they have a white background which does not last white very long with the kids hanging around). But the pillow backings, for some reason, did not survive the test of time. You can't see it very well below (I took this photo at night), but they were stained (stains that no amount of washing was able to remove), the fabric was damaged in places and two of the three zippers were no longer working. 

How to change old pillow backings - the easy way!
 
At first, I thought about replacing both the pillows and the rug (to same myself the trouble of having to wash them regularly), but I still like them and I couldn't really justify the cost. So I started looking for a quick and easy way to replace the pillow backings. Mostly, I wanted to keep the covers opening and closing with a zipper, but I didn't want the hassle of having to sew on three zippers.

The solution? Three simple pillow covers from Ikea, in a fabric very similar to the original one, and with zippers already sewn!

How to change old pillow backings - the easy way!

These pillow covers were a bit larger than my original ones, but here's what I did: 

First I separated the pillow fronts from their original backings:


Then I measured and decided how much the Ikea covers needed to be reduced and, with those covers turned inside out, I sewed two of the sides down to the right size, making sure the zipper remained where I wanted it:

How to change old pillow backings - the easy way!

 How to change old pillow backings - the easy way!

I cut off the excess fabric...

How to change old pillow backings - the easy way!

...turned inside out and hand sewed the original pillow fronts to the front of the Ikea pillow covers (so now the pillow covers actually have two fronts, but one of them is hidden underneath the other. An the back of my pillows is once again presentable:

How to change old pillow backings - the easy way!

Even with the hand sewing, replacing the pillow backings was much easier than having to cut fabric, sew on zippers and then sew front and back of the pillows together. And if I had managed to find new pillow covers in the right size, it would have been even easier!

How to change old pillow backings - the easy way!

Thank you for stopping by, and happy Tuesday!

keeping it real, craft blog


Friday, July 31, 2015

Scraps of Yarn July Crochet Along - finished!

Last night I finally managed to finish the July scraps of yarn crochet along challenge posted by Joanita over at Creative Crochet Toys. And just in time to show it off before the end of the month!

crochet, crochet along, crochet pillow

Monday, July 13, 2015

The Panda Pillow - with free sewing pattern!

We've had a very busy weekend and while I still found time for a little crafting, I didn't finish any projects worth bragging about here. 

But, while going through all the patterns I have stashed in my craft closet (with the purpose of getting rid of the ones I won't use anymore - or never have), I found a hand drafted pattern for a pillow I made years ago for my son: the Panda Pillow. 


The Panda Pillow - with free sewing pattern!


So today I decided to take a trip down memory lane and share the story of how this pillow came to be. I've also copied the pattern onto clean sheets and made a pdf out of it for anyone who wants to use it (though it's still a handmade pattern, so not very high quality).

Monday, June 15, 2015

Sailboat pillow - tutorial & pattern

Last week I had a few days off work and I took the opportunity to finish a series of projects that I had planned for quite some time. One of them was the sailboat pillow. Because it's almost summer and sailboats rock! 

I ended up making two of them, one for each of my kids (of course) and then I decided to make a pattern and share it here in case anyone wants to try it too (this pattern is no longer free - an improved version of the pattern is now available on Etsy)

sailboat pillow tutorial and pattern

Monday, May 4, 2015

crochet owl pillow: the fluffy version

Remember the crochet owl pillow tutorial I posted a couple of weeks ago? I told you at the time I was making another one (because with my kids, everything gets to be made in pairs) with a totally different yarn. Well, it's finished! Here is the owl pillow, in a much fluffier version:

crochet owl pillow


I made the first one for my daughter, and while I was debating about which yarn colors to use for my son's, he discovered in the yarn scraps basket the leftovers from the spring wreath:

http://keepingitrreal.blogspot.com.es/2015/03/spring-wreath.htmlhttp://keepingitrreal.blogspot.com.es/2015/03/spring-wreath.html

He loved the ball of soft yarn so much he took it to bed with him, and it "slept" there for several day (amongst his zoo of softies).
 
crochet owl pillow

It was clear to me then what kind of yarn I had to use for his owl pillow, so I went back to the craft store and got two additional colors (yellow and grey were the only "boy" colors available at the time) and started crocheting.

crochet owl pillow


This time I'm not posting a tutorial because this owl pillow was made in exactly the same was as the other, it's just slightly smaller (I couldn't find another pillow in the same size). Here they are side by side:

crochet owl pillow

I think it turned out pretty cute, and while I love the colors of the "girl" owl, the "boy" one is truly much softer and huggable.

crochet owl pillow

Despite the fluffy look, the yarn was fairly easy to work with, though in retrospect it would have probably been easider to knit than to crochet the pillow.


crochet owl pillow

Enjoy,


Featured at:

http://www.sewcando.com/2015/05/mothers-day-craftastic-monday-link-party.html

Friday, February 20, 2015

Reuse & upcycle: pillowcase from...other pillowcases

As you've probably have heard before, I'm decluttering my house. Some weeks ago I went through my daughter's closet and found several small pillowcases from when she was a toddler.

None of the pillowcases fit any of the pillows we have in our house now, but the fabrics were cute, packed with memories and I clearly wasn't ready to part with them. But I'm committed to decluttering, so I had to find a solution: a new, larger pillowcase made with a mix of all the fabrics.


reuse, upclycle, pillowcase, pillowcover

This was my first attempt at something remotely quilt-looking, and while I like the outcome (even if some of the squares are not perfectly lined up), the whole process was too long and difficult for my taste. Or maybe I just need more practice.

Anyway, I started with a bunch of small pillowcases (not all pictured below but all in need of a good ironing)...

reuse, upclycle, pillowcase, pillowcover

...and began cutting squares. I love to see quilts made with lots of different shapes, but I decided to keep this as simple as possible and I figured squares would be the easiest to sew.

reuse, upclycle, pillowcase, pillowcover


Deciding where to place each square took some time...

reuse, upclycle, pillowcase, pillowcover


...and sewing them all up even took longer

reuse, upclycle, pillowcase, pillowcover


The back of the pillowcase is made with white fabric and a plain envelope closure. The white fabric was also reused, as it came from a crib sheet.

reuse, upclycle, pillowcase, pillowcover


Well, it may have not turned out exactly perfect, but has been in use several times since I finished it. And since I replaced several unused items piling in a closet by a functional pillowcase, I consider it a sucess.


Now I still have a bunch of crib sheets in need of some serious upclycling, so I must find inspiration and decide what to do with them...

Enjoy,


Monday, December 29, 2014

DIY doll house accessories

Well, Christmas has come and gone and the year is almost over. How does time run by so fast? I hope everyone has had a wonderful Christmas. Ours was great, spent mostly with family. The weather was cold but sunny, which made traveling easier, and the kids even managed to play outside on a few occasions.

After the handmade Christmas gifts frenzy, I took some time off from crafting and decided to just enjoy the season. But it didn't last long and I was quickly recruited to make some tiny doll house accessories (aka miniature sewing, which, let me tell you, is harder than making normal sized stuff).

You see, one of my daughter's Christmas gifts was this lovely doll house...

DIY doll house accessories


...which is inhabited not exactly by dolls but by this very cure family of rabbits:

DIY doll house accessories


My daughter's problem? The house came with very few accessories and the rabbits can not live happily without a minimum of comfort. Truth be told, poor baby bunny had a bed with not even a blanket (and is dressed only in a diaper) and apart from that there were only two couches, a small table and a tea set. Definitely not up to my daughter's standards...

DIY doll house accessories

So I was hard pressed to help furnish the house. I started with poor baby bunny and managed to get him a sort of sleeping bag that fits his tiny crib:

DIY doll house accessories

DIY doll house accessories


Then I continued with the baby's room and added a rug and a matching toy box.

DIY doll house accessories

The toy box was the one item my daughter didn't want, but I made it anyway, because I have a feeling that otherwise all those little toys are bound to get lost pretty quickly.

DIY doll house accessories

DIY doll house accessories


Next I decided to spruce up the hall with a rug, a potted plant (made with an artificial flower that I have no idea where it came from but was stored in my save-for-future-uses box, and a red plastic bottle cap) and a crochet doily in matching red for the small table that came with the house:

DIY doll house accessories


It took me a while to make the doily, I guess my fingers are not apt to such delicate work, and it is not perfect (it was supposed to be a flower but ended up slightly wonky), but it works anyway.

DIY doll house accessories

DIY doll house accessories

 And finally, I made some pillows for the couches, with fabric scraps and little pieces of ribbon. 

DIY doll house accessories


So now the rabbits can rest in their much cozier couches while enjoying an afternoon tea: 

DIY doll house accessories

Then, because I couldn't resist, I crocheted a small blanket for daddy rabbit, because he seemed the most inclined to spend time in the living room.

DIY doll house accessories


And there is the complete set:

DIY doll house accessories


Overall, it didn't take me that long to make these accessories. I used fabric, felt and yarn scraps for everything and the main difficulty I had was indeed the small size. Everything (other than the crocheted items) was hand sewn. My daughter is still asking for beds for the three largest rabbits, but I guess they will be sleeping in their couches for some time, with their new pillows and blankets, since mom is now planning some other crafts in regular sizes...

Enjoy,