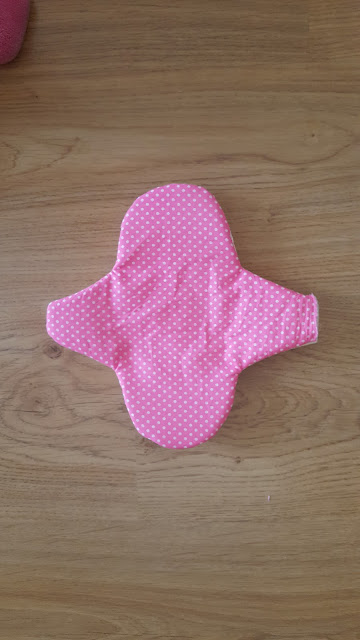
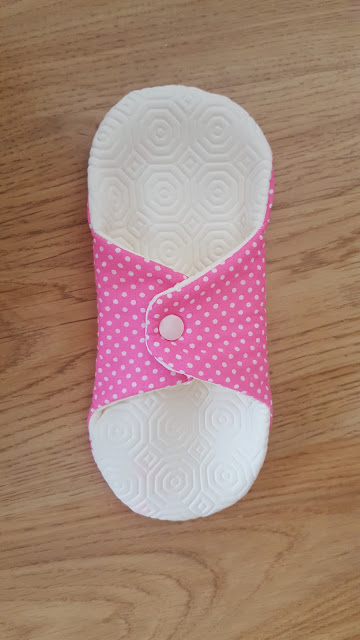
Hello, and welcome! I know reusable hygiene pads are sometimes controversial and it took me a long time to actually decide to make (and use) them. But at the beginning of 2020 I set my goal for this year: to go green - so I finally made the leap.
Before Covid and the lockdown, when I was out of the house for most of the day, embracing the idea of reusable pads was harder (especially because of the storage of the dirty ones until I could get home to wash them). Working mostly from home these past few months has definitely made it easier.
Want to give them a try?
What you need:
- the pattern - I drafted it based on the shape of the store bought pads I usually use. If you think it's not a good fit for you, just do what I did: get a store bought pad you feel confortable with and trace all around (make sure to add seam allowances and room for the flaps to overlap so that you can get them to snap together).
Fold fabric where indicated, and cut along the dashed lines.Total length of the pattern (not including seam allowances) is supposed to be 21.5 cm, so make sure your printer is sizing it correctly before cutting the fabric (just warning because I had a bad experience lately with a pattern that turned out much smaller than what supposed to when I printed it...)
- cotton fabric for the top of the pads
- non toxic soft water proof material for the bottom of the pads - I used some I had on hand, leftover from another project but I don't recall where I bought it. Searching for alternatives (because I wanted to make more pads than just the ones featured here) I leaned towards PUL backed fabrics, but you can do your own search and decide what's best for you
- fabric for the absorbent (middle layers) - as I wanted to avoid very thick pads I used two layers of interfacing - but since then I have tried with flannel and terry cloth and both work well too (although terry cloth makes for thicker pads).
- one pair of plastic snaps
Instructions:
Cut all fabrics is accordance with the pattern.
Place top and bottom fabrics right sides together and then the lining on top of that. Sew all around leaving the edge of one of the flaps open.
Trim excess fabric, clip corners and curves, and turn inside out.
Fold the open edges in and top stitch, to close the gap.
Add the snaps in place.
And that's it! These pads are really very quick to make.
I started with these three, but since then I've made four more.
Since I line dry clothes, I will definitely need a larger set for the winter months, so I'm planning to experiment with different fabrics and liners. I will let you know how it goes.
Happy Thursday!


I saw your link on the Friendship Friday’s Link Up. This is a good idea! I have seen these made to send in hygiene kits, but I haven’t heard from someone using them. Thanks for sharing!
ReplyDeleteI've been using them for a couple of months now and I'm loving the experience. Recently I have tried to use terry cloth as lining and it works great too, but I haven't had time to share the tutorial here.
DeleteThis truly is very useful, and healthy too. Thanks for joining The Bloggers Pit Stop - Pit Stop Crew
ReplyDeleteThank you, for hosting and for stopping by!
DeleteOur Menaka has chosen this post to be featured in the next Blogger's Pit Stop. Congratulations. We enjoy promoting our bloggers.
ReplyDeleteKathleen
Thank you so much!
Delete