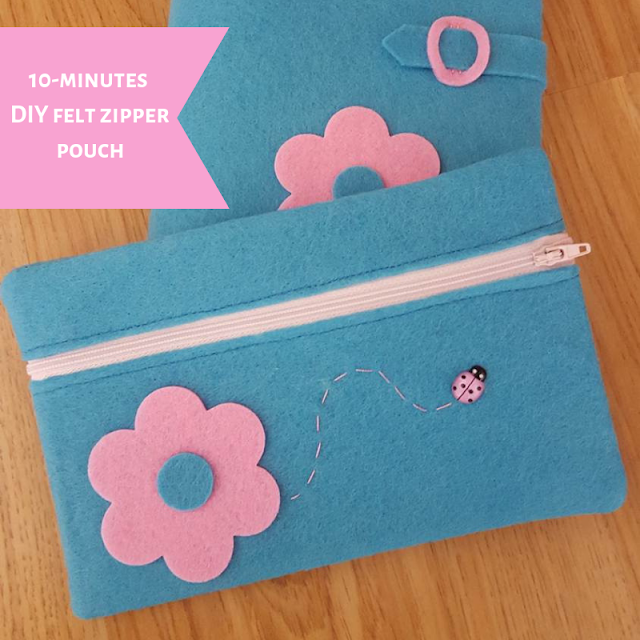
These zippered pouches seriously don't take more than 10 minutes to make - the beauty of working with felt is that you don't need to line the pouches and still can have pretty seams that won't fray.
Here's the how to.
Cut two pieces of felt like the ones shown below. To gauge size, take into account that there will be a zipper sewn in between them, and account for seam allowances all around.
Pin the zipper in place:
Sew the zipper in between the two felt pieces. Again, because felt doesn't fray, you don't need to fold or hem the edges in any way. Note that I used a zipper larger than the felt - believe me, it's much easier to sew it that way because you don't need to worry about the puller getting in the way.
Now cut a third piece of felt that is the same size as the one above - you can do this from the start, but I find it so much easier to do it just at this stage, to make sure sizes match exactly.
Place front and back one on top of the other (right sides together) and sew all around. The only thing you need to make sure at this point is that the zipper is partly open, so that you can turn the pouch inside out after sewing.
And when you turn it inside out, this is what you'll have:
Your felt zipper pouch is finished! Press it with the iron if needed (especially if you've used a thicker, not so soft felt) and embellish it in any way you want.
In the case of this particular pouch, I added a felt flower and a ladybug it order for it to match with the notebook cover, as I wanted both items to be a gift set:
Have fun, and happy Monday!


This is so sweet. I love working with felt too. So simple and it looks great too.
ReplyDelete