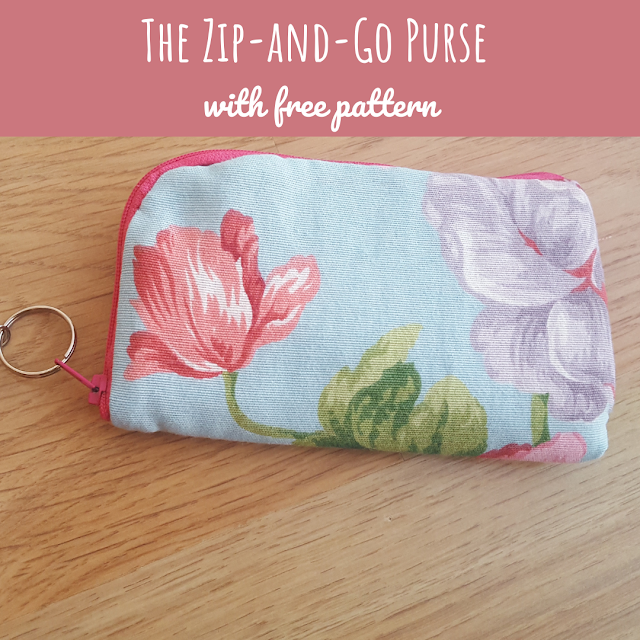
Welcome to another Tuesday! And because we're almost halfway through the week today I decided to share today a fun tutorial - the Zip-and-Go purse.
This is a very practical purse because it's big enough to hold your cell phone while including pockets for IDs, credit cards, etc.
Here's the how to:
What you need:
- the pattern - download here
- fabric for the purse, lining and interfacing
- a 30 cm zipper
- an extra strip of exterior fabric (about 14 x 4.5 cm) or, alternatively, a 14 cm piece of bias tape in a matching color
- one keyring and tassel (optional)
Instructions:
First print the pattern and cut the fabrics accordingly. Please note that the pattern for the purse needs to be cut on the folded fabric. Fold line is represented by the dashed line in the pdf pattern.
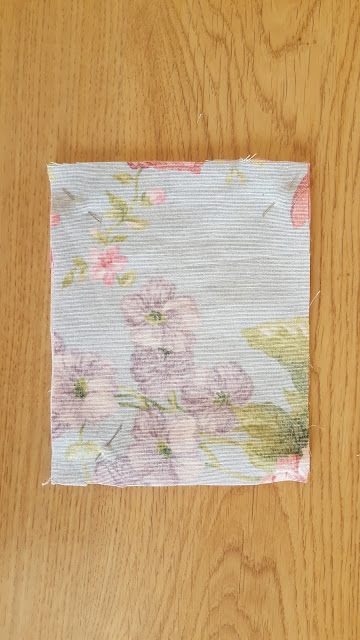
Sew the pocket first. Place lining and exterior fabric right sides together, with the interfacing piled on top of the wrong side of one of the fabrics. Secure with pins and sew down both longer sides.
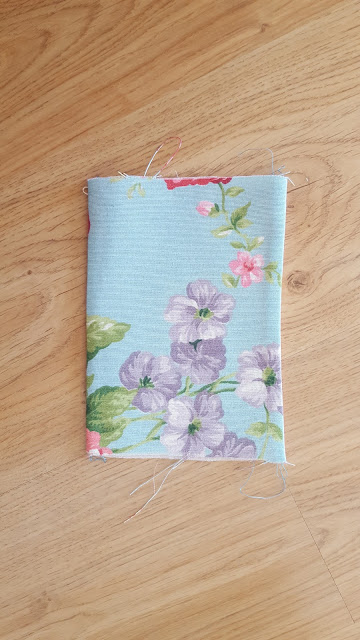
Turn inside out and press flat. Top stitch over the longer sides (the ones you've just sewn together).
Now stack the interfacing for the purse with the lining on top, and place the pocket in the center, as shown below:
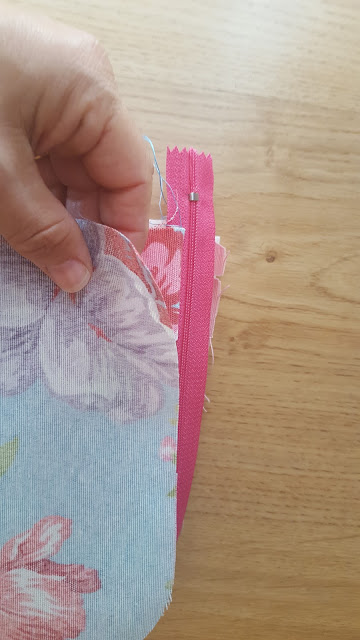
Now on to adding the zipper. The zipper will be applied only to one of the curved edges and the longest side pf the purse. Pin lining and exterior fabric, right sides together, with the top half of the zipper in between.
Sew over the edge. When you turn inside out, it should look like this:
Now do the same with the other side of the zipper. This is the most trickier part of the whole process, as you have to fold over the purse body to get everything in place. Leaving the zipper partially open generally helps.
When you turn inside out it will look like this (bottom side still open):
Now use the remaining strip of fabric to apply it bias tape style to the bottom of the purse (on the inside).
Note that when you sew the first side of the "bias tape" you are also sewing the two sides of the bottom of the purse together (effectively closing the opening). The "bias tape" will just serve to hide the ugly seam you would have on the inside otherwise.
Now continue to apply the "bias tape" and you will be left with a pretty inside seam finishing:
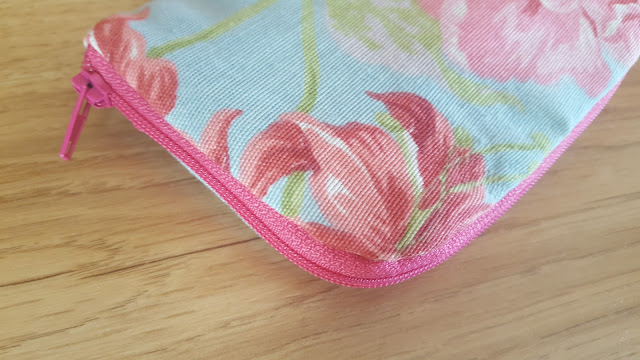
And that's it. Your new zipper purse is ready to be used. If you want, add the keyring and tassel for additional embellishment.
Have fun and happy Tuesday!
This post may contain affiliate links. As an Amazon Associate I earn from qualifying purchases.








No comments:
Post a Comment