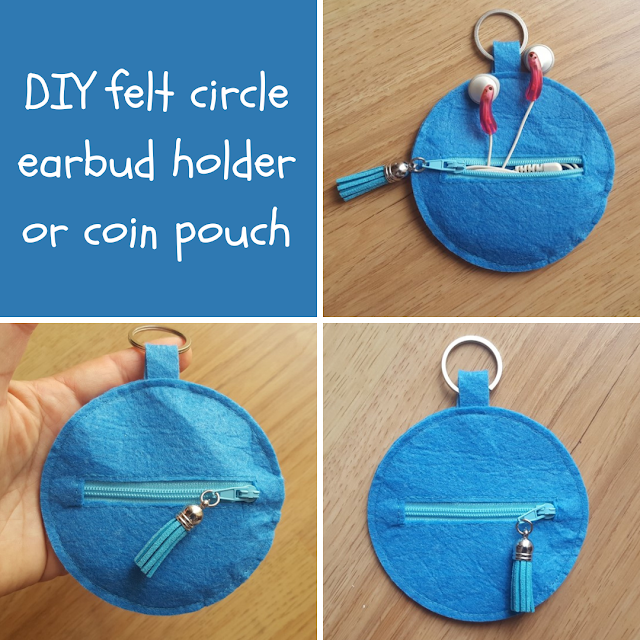
Hello, and welcome! Today I'm going to show you how to make a circle earbud holder (which can obviously double as a small key chain coin pouch, especially useful for parties and summer vacation).
It's a very quick and easy project, perfect for beginners. Check it out below!
What you need:
- two circles of felt. I used my 4 inch-diameter Sizzix circle die, but you can use a small bowl or a glass to trace and cut your circle shapes
- a small rectangle of felt to secure the key ring (approximately 1 cm x 4.5 cm)
- one metal keyring
- a zipper in a matching color (any size, as long as it's at least as long as the diameter of the circles)
- a tassel (optional)
- sewing thread
I used my sewing machine for this project, as it's obviously much quicker, but hand sewing works fine too. You can use a running stitch or a back stitch to attach the zipper, and either of those stitches or a blanket stitch when sewing the two circles together.
Instructions:
First, cut a rectangle off one of the felt circles:
My rectangle was approximately 1 cm high by 7.5 cm long. If you have a quilting cutting mat and ruler, use them, as they make it a lot easier to keep the rectangle centered.
Center your zipper under the cut off rectangle, as shown below, and pin in place.
Before sewing, make sure the zipper pull is within the rectangle.
Sew all around the zipper:
If necessary stop and move the zipper pull from one side to the other while you are sewing, in order to be able to keep the stitches close to the edge of the felt.
By now it will look like this:
Cut off the excess zipper (if necessary) place on top of the other felt circle and pin in place. Fold the small felt rectangle in half and pin it to the top of the circles (with the edges tucked in between the circles and the folded part peeking out), as shown below:
Sew all around the edge of the circles:
Put the key ring in place, add the tassel to the zipper pull, and your little circle pouch is ready to be used! Here it is, front and back:
You can make this in any color, alternate colors between front and back, use a zipper in a contrasting color, play with the key ring and the tassel, the possibilities are endless.
It's also a quick handmade gift when you need one and you can easily whip up a batch to use as party favors too.
This post may contain affiliate links. As an Amazon Associate I earn from qualifying purchases.
 |
| See it on Amazon |


What a good idea! Thanks!
ReplyDeleteThank you for stopping by!
DeleteTeresa,
ReplyDeleteThanks so much for stopping by and for your kind words in regards to Joe's passing...I gratefully appreciate it..
Hugs,
Deb
Debbie-Dabble Blog
Thank you for stopping by Debbie. Stay strong!
DeleteWhat a super cute and genius idea. I am always on the hunt for something to store earbuds or other small items.
ReplyDeleteThanks so much for participating and sharing at SSPS 308. See you again next week https://esmesalon.com/tag/seniorsalonpitstop/
Thank you for hosting, and for stopping by! Have a great weekend!
DeleteThat's so cute. What a great idea. I always appreciate a tutorial.
ReplyDeleteVisiting today from SSPS 308 #29&30
Thank you!
Delete