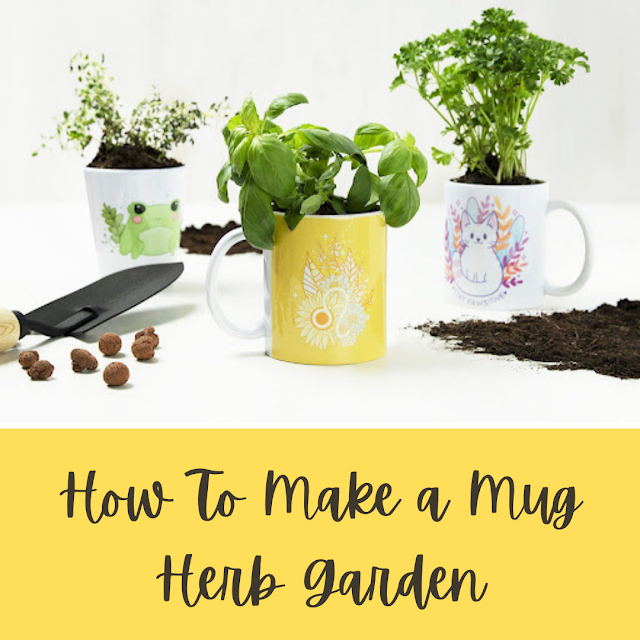
Whether you have a green thumb or not, making a coffee mug herb garden is easy, fun, useful, and makes for unique additions to your home that are sure to grab the attention of all of your guests.
Read on to learn how to DIY a mug herb garden and use these fun mug herb garden ideas so you and your family can have an original herb garden even if, like us, you live in an apartment and don't have a real garden to work with.
Gather All Your Materials
With a few simple materials, you can create an atmosphere where your herbs will thrive. These simple mug herb garden materials will create long-lasting herbs that you will love all year round:
- Coffee mugs
- Baby herbs
- Soil
- River rocks
Find a Sunny Location
When thinking about what spot in your home is best for your herbs, consider a few options before closing in on one space. This area of your home could be your kitchen, a windowsill, or anywhere with proper access to sunlight.
If you have plants or young children, make sure that this is not within reachable distance. Protect your plant by keeping it on a high shelf or section of the room.
Pick Your Herbs
While you may not be an expert on growing herbs, there are a ton of easy, fast-growing plants that you can choose from. As long as you have the proper nutrients and a supportive atmosphere, your herbs will be growing in no time.
Make sure that you choose a mug that will support the growth of the herb. For instance, for a tall herb, you may need a mug with a deep opening. Here are a few options of herbs that you can choose from:
- Basil
- Thyme
- Cilantro
- Rosemary
- Mint
- Parsley
Choose Your Mugs
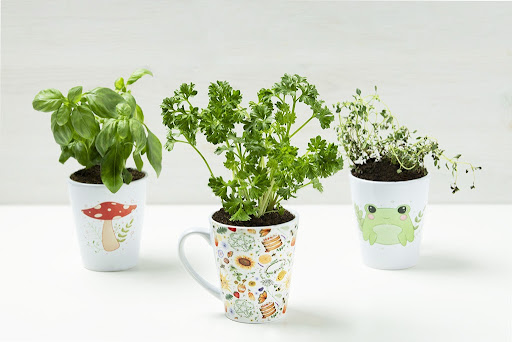
Time to choose your favorite mug that your herbs will be growing inside. This can be an engaging part of the growing process if you choose to purchase a mug or use a mug that has been pushed to the back of your cabinet. It’s all up to you!
Make sure that the mug does not have any holes in it where soil could spill out or water could drip through. Also, check for small cracks or imperfections. As this would otherwise be the place that plants would be growing outside in your garden, you will want to keep this mug as neat as possible.
Plant Plant Plant!
Tease the roots of the herbs if you are using baby herbs and add a bit of water after the roots have been planted. River rocks will add a bit of irrigation for excess water.
Style your Garden
With your location chosen and your herbs budding, you can decorate this area or decorate your mug however you choose. You can go crazy with paints or designs on the outside of the mug as long as you do not disrupt the herb.
Your kids could even take turns coloring the outside of the mug and grow their own herbs to be used in your famous dinner dishes. Don’t forget to use these punny printable labels to keep track of your herbs!
Have fun with your new herb garden, and happy Wednesday!
Disclaimer: this post was written in partnership with Siege Media and RedBubble. Printables and images were supplied by them and as such are not owned by me.


No comments:
Post a Comment