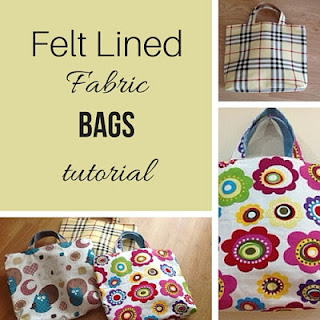
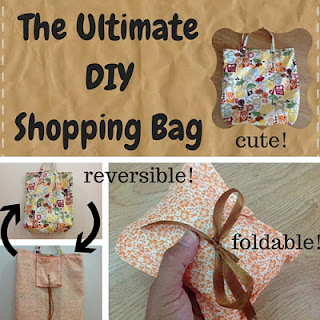
Hello, and welcome. Today I'm sharing with you a great summer tote bag - with cute pockets and 100% reversible.
Scroll down for the tutorial the link to download the pattern.
Scroll down for the tutorial the link to download the pattern.
Materials needed:
- two buttons
- matching sewing threads
- fabric for the bag, pockets and straps. Measurements can be found below (click on the picture for the printable version of the pattern)
Instructions:
Step 1: create the pockets
First, sew the larger pocket ribbon to the front piece of the pocket, as shown below


Then fold the shorter pocket ribbon bias tape-style and create the bow. Sew the button in place:
Place the two pocket pieces right sides together and sew all around, leaving just a small opening to turn inside out. Repeat for the second pocket and you should have something like this:


Then fold the shorter pocket ribbon bias tape-style and create the bow. Sew the button in place:
Place the two pocket pieces right sides together and sew all around, leaving just a small opening to turn inside out. Repeat for the second pocket and you should have something like this:
Step 2: sew both sides of the bag
Join each of the three pieces of each side of the bag (the exterior and the "lining", although since the bag is reversible, that distinction doesn't really make much sense).
Fold each of the side pieces of the bag in half and decide where you want the pockets to be. Pin the pockets in place and sew the sides and the bottom of the pockets to each side of the bag.
Sew down the sides of the bag pieces (right sides together and then sew the bottom corners, to create a flat bottom:
By now you have two bag pieces that look exactly the same, except for the fabrics used:
Step 3: sew the straps
Fold each strap piece in half over the long side, tuck the edges over inside (bias tape like) and sew.
Step 4: assemble the bag
Place the "lining" in place inside the bag (wrong sides together), fold the top edges inward and pin all around, with the straps in place (insert the straps between the "lining" and the bag before pinning.
Top stitch all around the bag.
And you're done! Your reversible bag is ready to be used:
And while you're visiting, you can also have a look at some of the other bag tutorials I've posted in the past:
Happy Tuesday!


How cute.It looks easy to make and so handy.
ReplyDeleteLove it! Pinning this so I can find it again when I', ready to break out my sewing machine and get down to business! #MMBH
ReplyDelete