Following up on last week's post about the purse organizers gift set, I'm sharing today the tutorial for the zippered pouch.
Adding zippers isn't the easiest thing in the world (at least not for me), especially when there's lining involved. So I've come up with a simple method to make it work.
Check out below the tutorial to make this lined zippered pouch.
What you need:
- fabric for the pouch (for a finished bag of about 17 x 18 cm cut two rectangles of 18 x 19 cm - if you want to make different sized pouch, just adjust proportionally)
- fabric for the lining (same size as the fabric for the pouch)
- Matching sewing thread
- trim (optional - I used a color coordinated pom pom trim)
- Matching zipper (about 18 cm long)
Instructions:
- Cut the fabric for the pouch and the lining
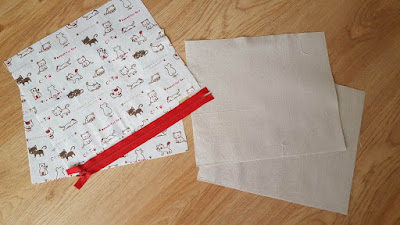
- Place one piece of lining and one piece of exterior fabric right sides together, with one edge of the zipper in between, as shown below (right side of the zipper turned to the right side of the exterior fabric):
- Sew close to the edge:
- This is what will look like::
- Do the same with the other two pieces of fabric and the other side of the zipper:
- After sewing, it's supposed to look like this:
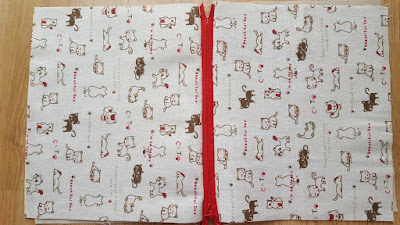 |
| right sides up |
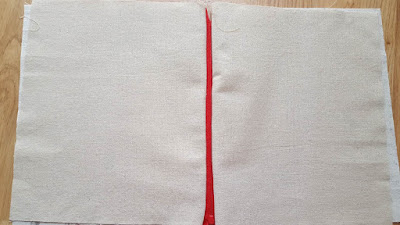 |
| lining - right sides up |
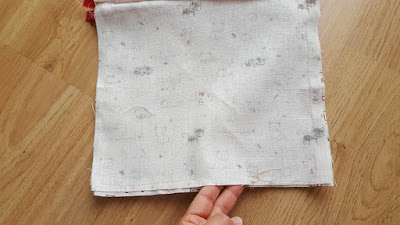
- Now join both pieces of the lining (right sides together) and sew all around:
- Do the same with the exterior fabric, but leaving an opening at the bottom for turning inside out:
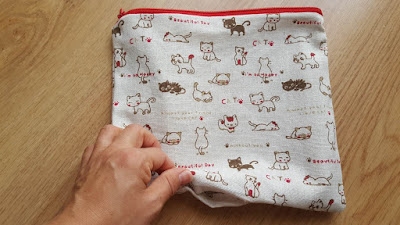
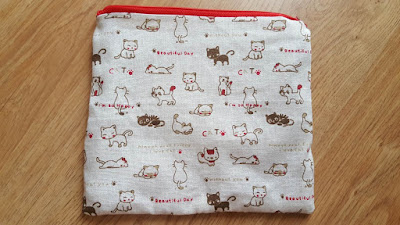
- Hand stitch the opening closed and your pouch is ready:
- Add the trim (optional):
Enjoy your new pouch!
And here is the zippered pouch together with the rest of the set.
Tutorial for the envelope purse organizer here.
Tutorial for the mini bag coming soon.
Have fun and let me know if you have any questions!






Ok. You did it. :) I'm convinced I can successfully make a pouch with a zipper! Your tutorial is perfect! A million thank yous for such a clear, well-written tutorial! Thank you for sharing!
ReplyDeleteThank you! I had the same fear, to be honest. It took me a while to find a way I could actually sew a zipper successfully but I finally did it!
DeleteI have never tried adding a zip to anything, because the thought has always terrified me! I am bookmarking this post for future reference when I feel ready to take the plunge though - thanks so much for sharing it :) #sharethejoylinky
ReplyDeleteThank you! I hope my way works for you too, let me know how it goes if you actually use the tutorial.
DeleteYou make this look like it is really easy to make. Love your fabric, too! Thanks so much for sharing at our Party in Your PJs.
ReplyDeleteThank you Nina, for hosting and for stopping by!
Delete