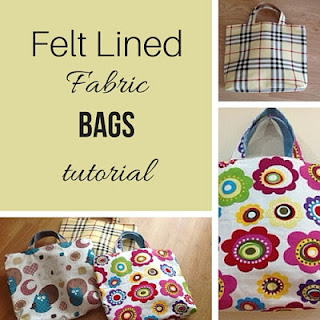
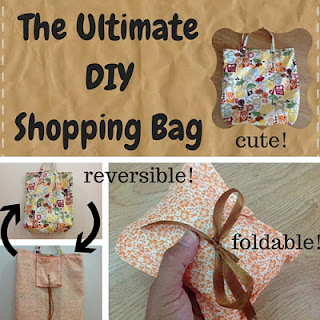
Hello, and welcome. Today I'm sharing with you my new summer tote bag, including the tutorial and the pattern in case you want to sew one for yourself too.
Summer means spending more time outdoors, so I designed this one with a large pocket, which is great to carry sunglasses, the book I'm currently reading or my latest craft project.
Materials needed:
- one button
- about 6 cm of thin round elastic
- matching sewing thread
- fabric for the bag, pocket, straps and lining. I used the same thin canvas fabric for the bag and lining and then another one with a contrasting pattern for the pocket. Measurements can be found below (click on the picture for the printable version of the pattern)
Instructions:
Step 1: sew the bag
Fold the pocket piece in half over the sort side and place over one of the bag pieces as shown below. The folded edge should be on the top side of the bag. Pin in place.
Place the other bag piece over this one, right sides together and pin. Sew down the sides and the bottom of the bag (because of the way you placed the pocket piece, the pocket will the automatically sewn in place, leaving the folded edge as the opening). It should look like this:
Step 2: sew the lining
Place the lining pieces right sides together, pin in place and sew the sides and the bottom.
Step 3: create the bottom of the bag and lining
Fold each bottom corner of both the bag and the lining in a triangle and sew about 5 cm from the tip. Cut off the excess fabric.
Step 4: sew the straps
Fold each strap piece in half over the long side, tuck the edges over inside (bias tape like) and sew.
Step 5: assemble the bag
Place the lining in place inside the bag (wrong sides together), fold the top edges inward and pin all around, with the straps in place (insert the straps between the lining and the bag before pinning.
Top stitch all around the bag.
Step 6: add the button to close the pocket
Fold the elastic in half and sew it in place in the center of the pocket top.
Make sure the edges of the elastic are on the inside of the pocket and that no stitches show on the outside.
And finally sew the button in place as shown:
Yay, your bag is finished!
Now you just need to wait for summer to arrive (almost there...)!
In case you missed the link to download the pattern above, click here.
In case you missed the link to download the pattern above, click here.
And while you're visiting, you can also have a look at some of the other bag tutorials I've posted in the past:
Happy Monday!


Aww this is really cute! Love the pocket
ReplyDeleteVery cute and handy for "toting" things around. Love the button for the pocket.
ReplyDeleteThank you Victoria!
DeleteThis is adorable! Love the button detail!
ReplyDeleteThank you!
DeleteSuch a fun project! It looks so cute. I Would love to give it a try and make one :)
ReplyDeleteI'm so glad, let me know how it turns out!
DeleteThe pocket with the button closure is a great idea.
ReplyDeleteThank you Pam. The button had not been in my initial plans, but then I decided the bag look too plain and needed an additional detail...
DeleteThanks for sharing this summer tote tutorial at C&C with J&J.
ReplyDeleteThank you Julie, for hosting and for stopping by!
DeleteYou make it look so simple! It turned into a beautiful bag!
ReplyDeleteThank you, though it really is simple, I just don't have the time, or the skills, for more complicated patterns...
DeleteGreat bag!! I wish I sewed - so I sent this to my sister with a "hint, hint" !! LOL - Thanks for sharing on the Pleasures of the NW's DIY party!!
ReplyDeleteThank you, and I hope you get the bag. If I didn't live across the Atlantic from you I would find a way to sew you one myself...
Deletevery cute!
ReplyDeletehomeecathome.com
This is so cute, and just in time for summer Thanks for sharing on Sunday's Best.
ReplyDeleteThank you Rhonda!
Delete