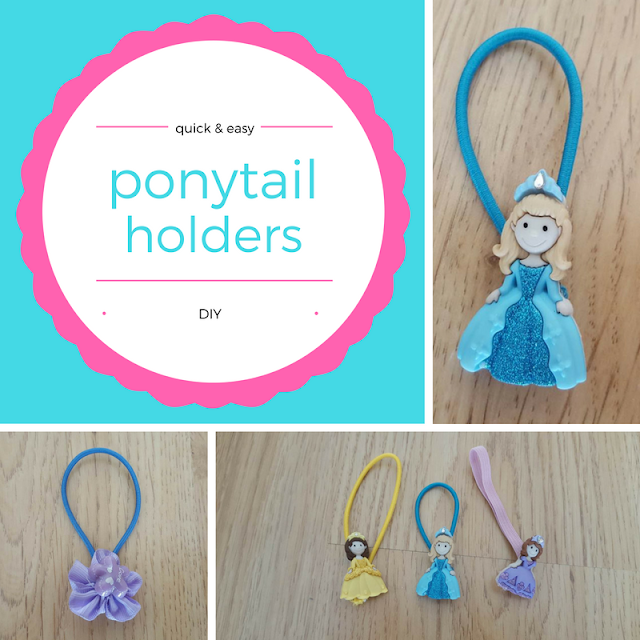
This year my daughter's first grade teacher sent a note home saying the she prefers to have the girls with longer hair using ponytails during class time. We do have a few store bought ponytails at home, but they've seen several years of use already, so we decided to make some new ones. It was our mother-daughter craft last weekend.
Ponytails are very easy to make, but if you're taking the time, you might as well make them as cute as possible. So we decided to use some princess buttons I bought at a craft store a while ago.
Yes, they are buttons, though they don't seem very practical to button and unbutton. I bought them, well, because I just couldn't resist and I thought some day they would look nice embellishing a sweater or a t-shirt. They ended up embellishing ponytail holders.
So, to make the ponytail holders all you need are cute buttons and bits of elastic. Larger buttons are better, as is round elastic - though it can't be too thin, otherwise it will get easily tangled in the hair. Regular elastic works well too if it's not too large. I used a bit of both, as I had a few scraps of colored elastic around.
Measure the elastic, deciding on how may turns you want it to have around the hair, and add an extra 2 centimeters to make it easier to tie a knot (you can cut the excess later).
Tie a knot and pull the elastic firmly, to make sure the knot stays in place (but be careful not to pull too much, otherwise you'll weaken the elastic even before you start wearing the ponytail holders). Then sew the button of your choice over the knot. This will (1) help to hide the knot and (2) secure the knot even better.
This is how it will look in the end:
We made three princess ponytail holders (because I only had three buttons of these) and an additional one using a purple button and a bit of ribbon.
Here's my daughter testing the first one we made - she wouldn't hold still, so this was the best shot I managed.
Overall, this was a very fun project, and now my daughter has several new ponytail holders to show off at school. I'm sure some of these would work well as gifts too, so I'll keep them on my list as inspiration for upcoming birthday parties and Christmas.
Happy Tuesday,


How cute! And so easy!! Thanks for sharing at the Pleasures of the NW's DIY party!
ReplyDeleteThank you for hosting and for stopping by. Have a great weekend!
DeleteThanks for sharing these Ponytail holders, they are pretty cute as well :)
ReplyDeleteThank you for stopping by!
DeleteCute idea!
ReplyDeleteThank you!
DeleteThese are so cute for little girls ponytails! Love how easy they are to make as well!
ReplyDeleteThey are very easy to make, and you can custom them to each girl's preferences.
DeleteThese are so cute! My daughter would love these.
ReplyDeleteThanks for sharing at #bloggerspotlight!
So cute, so easy! What a great idea. Our extended family does a gift exchange among cousins every year and this year's theme is "something to wear." My daughter drew the name of another 6 year old, and I think these would be fantastic! Thanks!
ReplyDeleteThank you for stopping by, and good luck if you make some of these!
DeleteThis is adorable Teresa! I have a daughter who's 3 and into princesses. I could do this! Thank you for sharing it at The Crafty Corner link party. I hope to see you there again (new party starts tomorrow at 6 am EST).
ReplyDeleteThank you! I've linked up already!
DeleteWhat a fun craft! It turned out so adorably...! Thank you for sharing at #FridayFrivolity... pinning and tweeting!
ReplyDeleteThank you Sarah, have a wonderful weekend!
Delete