

crochet, felt, sewing, knitting, cooking, printables, digital downloads, decor and everything else that, realistically, I can find the time to create or design
Tuesday, March 31, 2015
Easter gift baskets - with tutorial
As promised yesterday, here is the tutorial for the felt Easter gift baskets I made this year for our family. I only finished late last night, so some of the pictures are darker than the others, but the ones for the tutorial part should be clear enough for anyone to follow.
Monday, March 30, 2015
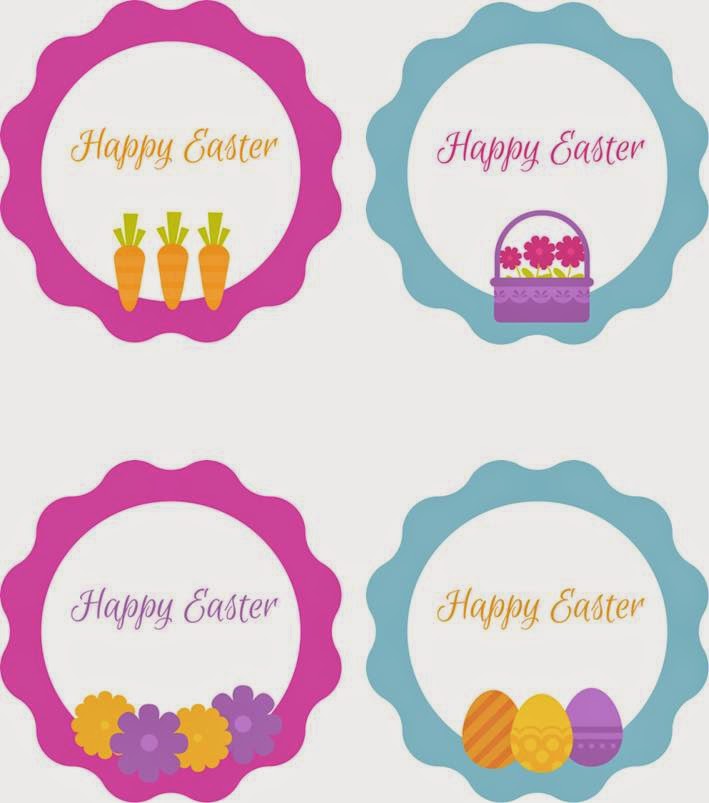
Happy Easter gift tags - free printable
In our family we usually exchange simple gifts on Easter Sunday and always like to prepare some cute tags to add to them.

Last year I was a little pressed for time, so I just made some decorated Easter egg tags, printed and then wrote the names of recipients in the back. These were last year's:

This year, with a little more time, a bit of additional digital knowledge and the help of Canva, I made new tags, which I think turned out really well, so I decided to share here too:

Enjoy,


Last year I was a little pressed for time, so I just made some decorated Easter egg tags, printed and then wrote the names of recipients in the back. These were last year's:
This year, with a little more time, a bit of additional digital knowledge and the help of Canva, I made new tags, which I think turned out really well, so I decided to share here too:
They are a set of eight "Happy Easter" tags which you can download and print.
I created the original version in Portuguese for my family and then translated into English to post.
Last weeked I also made some cute Easter baskets to store the gifts. They are lined but I made them all in felt to they were very easy to put together. I'll share that tutorial tomorrow and you'll see then how I attached the tags.
Enjoy,
Friday, March 27, 2015
10 blogging tips for absolute beginners
There is a Chinese proverb that says that a journey of a thousand miles begins with a single step. I find that this is true about most things in life, blogging included. If you are thinking about starting a blog or have recently entered the blogging world, then this post is for you.
I have been blogging for a little over a year now, so I'm by no means an expert. However, these past months have been filled with lots of new experiences, new on-line friends and when I look at my first posts I realize that I have learned a lot since then.
I have been blogging for a little over a year now, so I'm by no means an expert. However, these past months have been filled with lots of new experiences, new on-line friends and when I look at my first posts I realize that I have learned a lot since then.

Thursday, March 26, 2015
No clutter in 2015: week 12 update

Well, twelve weeks of the year have gone and in every one of those weeks I forced myself to declutter at least a little. When I think back on all the stuff that was sent to trash or donated so far, I really wonder how we managed to keep all that of it inside our closets.
Wednesday, March 25, 2015


Tuesday, March 24, 2015
Ribbon covered doll hair clips
This is a project than has been finished for while but that I never got round to share before. Years ago, long before my daughter was even born, I found a couple of cute wood and yarn dolls at the craft store. And because I can't resist cute craft supplies when I see them, I brought them home. I never used them, though, and they ended up stored at the bottom of a box on one of the shelves of my craft closet.
In one of my recent decluttering missions I found them again and decided it was more than time to put them to use. And so the doll hair clips were born.
 I started by covering two hair clips with a large piece of ribbon. I didn't take a lot of pictures of the process, but you can see below how it tuned out. Basically the ribbon is folded over and secured with fabric glue:


Then I just glued the dolls over the hair clips.


(because I'm naturally distrustful of glue, I added a few stitches securing the dolls' dresses to the ribbon, but you really don't need to).

The dolls don't match exactly, since when I bought them I did not mean for them to be a pair, but my daughter loves them anyway.

A few less items cluttering my closet + cute hair accessories? It's win-win all the way!
Enjoy,

In one of my recent decluttering missions I found them again and decided it was more than time to put them to use. And so the doll hair clips were born.
Then I just glued the dolls over the hair clips.
(because I'm naturally distrustful of glue, I added a few stitches securing the dolls' dresses to the ribbon, but you really don't need to).
The dolls don't match exactly, since when I bought them I did not mean for them to be a pair, but my daughter loves them anyway.
A few less items cluttering my closet + cute hair accessories? It's win-win all the way!
Enjoy,
Monday, March 23, 2015
How to: wooden sticks bookmarks

Bookmarks have always a staple in our house and now that my oldest is reading fluently and has taken to reading several books at the same time (he has one book in is backpack to read at school while waiting for the bus to come home, another on the kitchen table and at least one more at grandma's house), they are in constant demand.
For Christmas I made him a felt bookmark (check it here), but recently he has been asking for more. On top of that, one of his friends from the soccer team invited us for his birthday party last Saturday, and since the gift I got him was also a book, I decided it was really time to make more bookmarks.

A while ago I bought a bag of colored wooden sticks at the craft store, for no special reason other that they looked cute (almost like a rainbow) and I thought I could make something out of them some day. Last Friday night was the day. Scavenging around my craft closet I also found some wooden ducks, a butterfly, a flower and a few felt cars cutouts (all brought home in different occasions, again with the intention of creating something out of them).
In addition to these materials, I also used felt circles (two for each bookmark, but they can be cut from scraps, a bonus), fabric glue and matching embroidery thread.

These bookmarks are very easy to make and come together pretty quickly. I made four of them in less than half an hour after the kids were asleep on Friday, in time to include one with the book I was wrapping for the birthday party the following morning.
Want to make some? Here's the how to:
1. glue the stick on one of the felt circles as shown below

2. cover it with the other felt circle and sew around the edges, leaving both ends of the thread hanging loose

3. tie the two end of the thread together, with a knot (or a bow, if you're making the bookmarks for girls)

4. glue the figure or embellishment you have chosen

5. your bookmark is finished and ready for use

Now make lots of them! (oh, and if you don't have or can't find sticks in your favorite color, just get plain ones and paint them - spray paint is fast and works just fine).


The bookmark with the brown car was included in the birthday party gift and my son is now using the little duck one. The other two don't have a specific destination yet, but I'm sure they will come in hand for upcoming birthday parties.

Enjoy and have a wonderful week,

Friday, March 20, 2015


Thursday, March 19, 2015
No clutter in 2015: week 11 update

I'm back for the update of another week of decluttering. Though I still have some upcycle projects to shere from previous weeks, the past few days have been filled with clothes selection. As a result I have in our spare room three (soon to be four) bags of clothes for donation.
Wednesday, March 18, 2015
(Almost) Wordless Wednesday 18/March


Taken last Saturday evening, at the Christ the King sanctuary (Cristo-Rei), with Lisbon on the other side of the river. My son had a soccer game close by, so we decided to go check the views. My husband went back the next day on one of his bike rides and took more pictures, but they are still in his cell phone, so I'll share another time.

Tuesday, March 17, 2015
Happy St. Patrick's Day!!!!

Found this online a long time ago and it has been saved in my computer since them. I thought it was time to share it.
Have a wonderful St. Patrick's!!!!

Subscribe to:
Posts (Atom)