Wednesday, January 29, 2014
The 5-minute book cover tutorial
I read a lot of books, mostly on the train on the way to and from work. Even though most of my books are paperbacks bought used from Amazon, I still like to use covers to protect the books when I put them in my bag everyday.
A while ago I made this:
It is sized to fit the smaller paper backs. But I recently ordered some books that are slightly larger and needed a new cover. I made it last night and decided to share because it is a very easy and quick project.
Seriously, it doesn’t take longer than 5 minutes to sew this book cover. Here is the tutorial:
1. Gather your supplies:
• a piece of felt big enough to cover the book (including seam allowance on the top and bottom of the book and extra to fold over (pockets for the front and back covers)
• ribbon for the pages market (if you want one). I used about 20 centimeters, but length will vary depending on the size of the book you want to cover. Extra if you want to use ribbon to embellish the cover in any way
• buttons (or any other embellishment you want for the cover)
• thread (I used red thread to match the ribbon and the buttons)
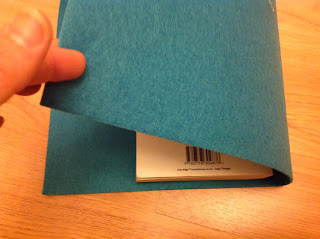
2. Measure around the cover of the book
3. Cut the felt: I used a rotary cutter but regular scissors will do just fine, just make sure you cut a straight line
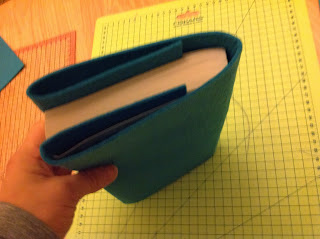
4. Measure again around your book, making sure both pockets are the same size
5. Pin in place
6. If you want to use a page marker, pin the ribbon on the inside top of the cover. Here is the cover, all pinned and ready to sew
7. Sew the top and bottom of the cover, securing the pockets in place, as well as the ribbon marker
8. Sew on buttons and embellish as much as you want
And your cover is ready to use. And it comes together so fast that you can make half a dozen in various sizes without much effort. Go make one now!
To see how it looks with beads as an alternative embellishment, take a look at my summer book cover here. and, while you're at it, you can also check the crochet book cover!
Enjoy,
Subscribe to:
Post Comments (Atom)


Teresa, thanks for sharing this great tutorial. I've chosen this as a feature for the Retro Re-pin Party next week at 8 p.m. ET on somebodysdinner.blogspot.com
ReplyDeleteCongratulations!
This has also been pinned to our party board http://www.pinterest.com/2crochethooks/retro-repin-party/
Thanks for linking up and sharing.
Thank you very much Julie!
Delete