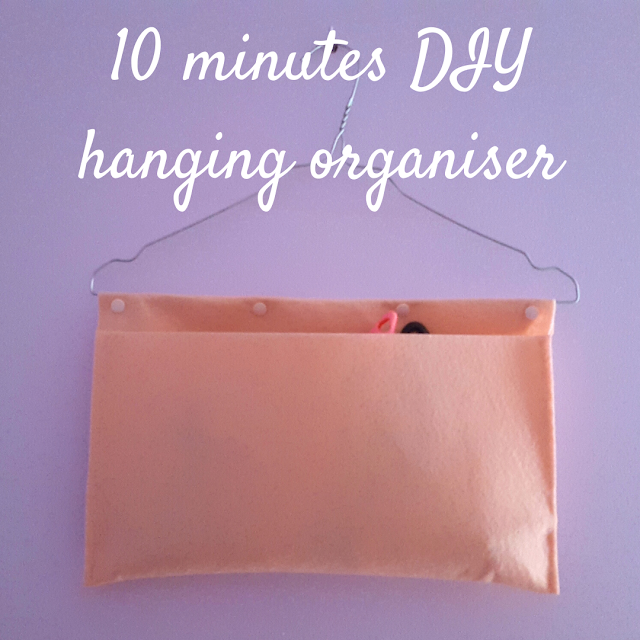
Organising my craft supplies and tools is a constant challenge. My latest idea? Hanging organisers.
These are so easy and quick to make there's no reason not to try them.
All you need is a hanger, a piece of felt (or fabric, big enough to create a pocket) and plastic snaps.
Start by cutting and folding the felt as shown below. I wanted mine as wide as the hanger, to have as much room as possible, but width is really your choice):
Note that the felt isn't folded exactly in half. Instead, there's extra felt at the top of one of the sides. This extra felt will be folded over the hanger (and secured with the snaps).
Second step is to sew the sides. As this is just straight sewing I let my daughter sew it on the kids-safe sewing machine she got for her 10th birthday:
Then all you have left to do is to put the snaps in place. I measured and marked where I wanted my snaps to be first:
I used snaps because I wanted to be able to remove the organiser from the hanger if needed, but if you prefer you can just sew (or even glue) the felt in place (just remember to put the hanger in beforehand).


No comments:
Post a Comment